Hot off my easel
27/9/2015
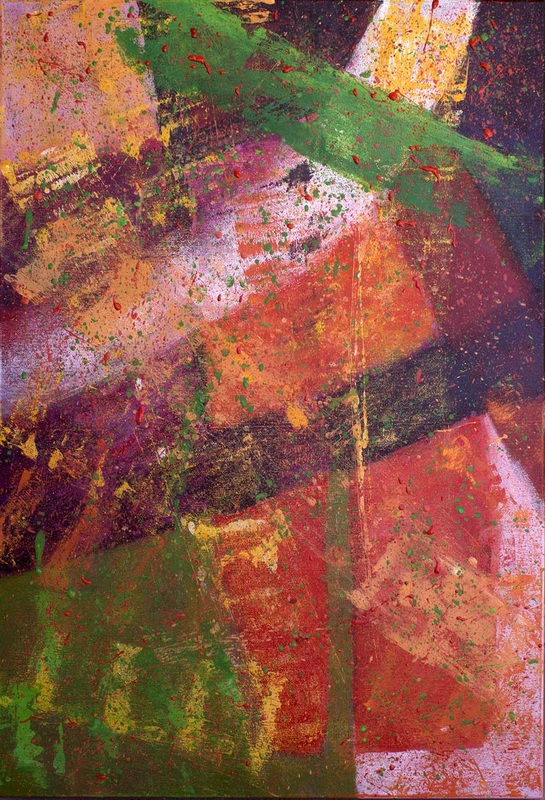
Five new abstract paintings have been added to my Serendipity gallery. They are all synthetic polymer paint offered at a very affordable price. Check them out by clicking on the image. 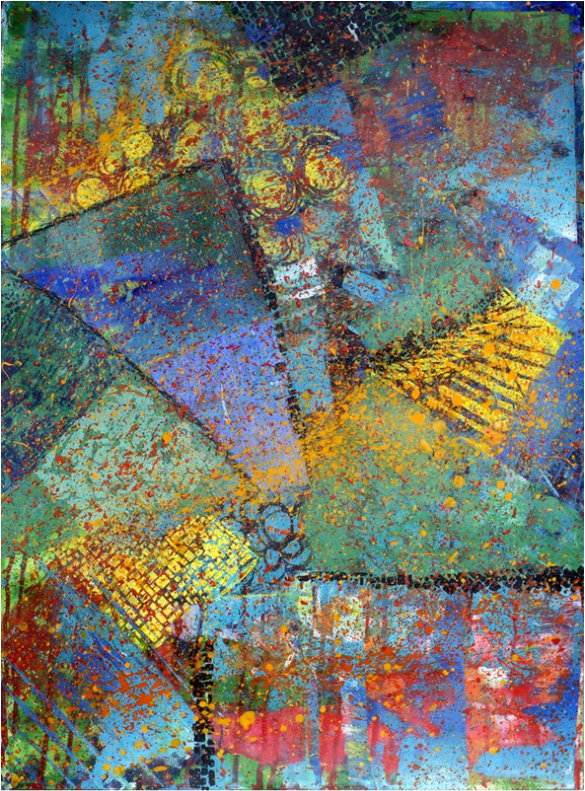 Life of the Party - Synthetic polymer paint on Arches Paper - unframed. 55cm x 75cm  What Lies Beneath - Synthetic polymer paint on Canvas - 92cm x 62cm  Emotion with Joy - Synthetic polymer paint on Canvas - 92cm x 62cm 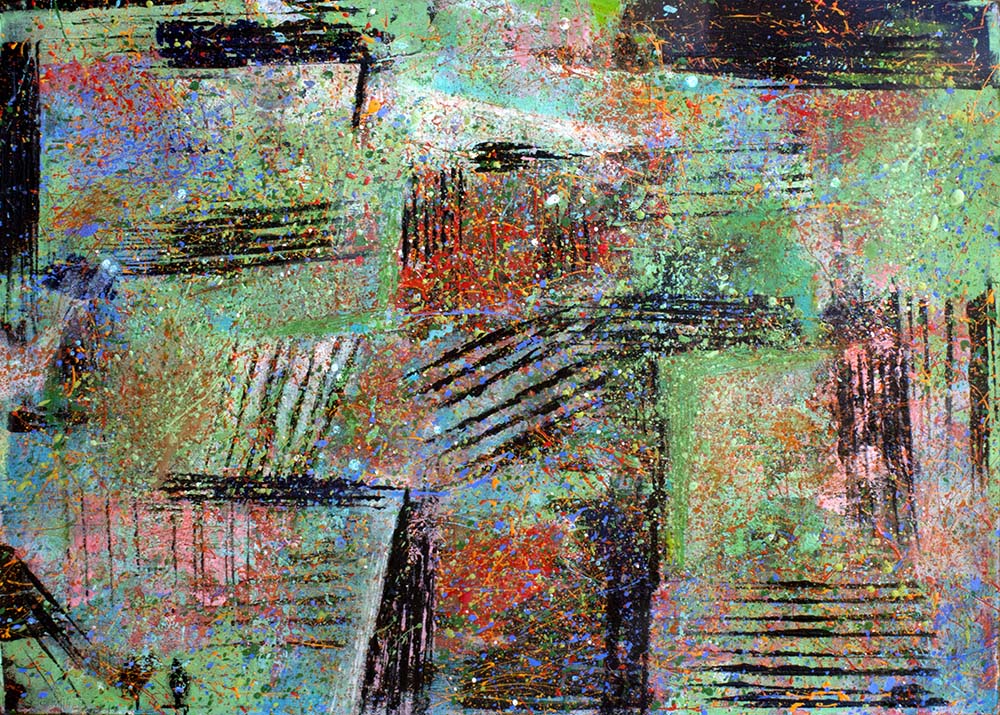 Secret Rendezvous - Synthetic polymer paint on Arches Paper - unframed - 50cm x 70cm 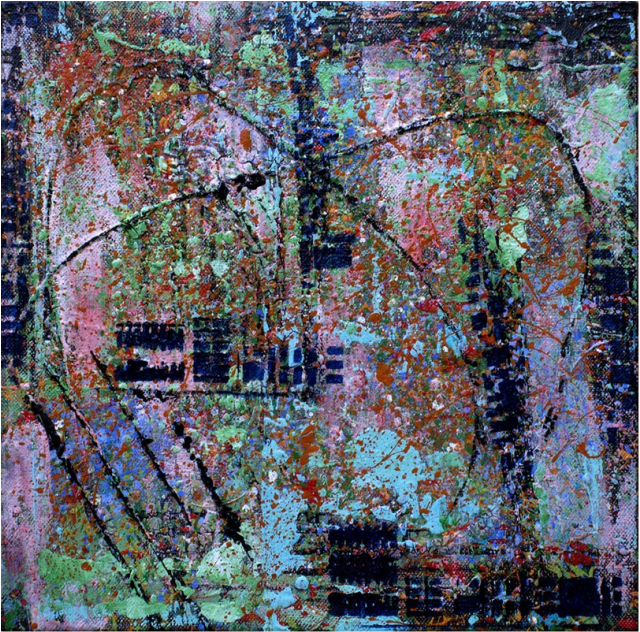 Data Chips - Acrylic on Canvas - 30cm x 30cm
0 Comments
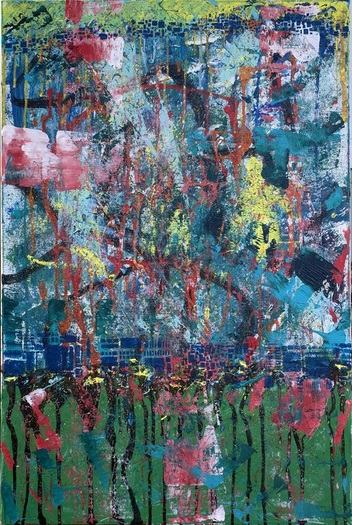
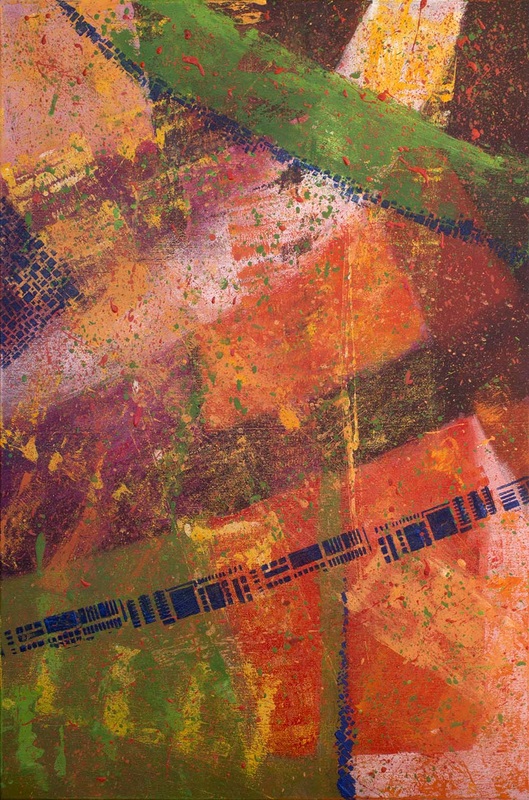
Data Chips - Hot off my easel.
26/9/2015
See my latest blog in my blogspot on to see how I created this artwork. http://gaylereicheltart.blogspot.com.au/2015/09/data-chips-add-more-paint-series.html  Gayle Reichelt Art Newsletter No. 7
20/9/2015
Click on this link to see my latest newsletter http://eepurl.com/bzeuSH 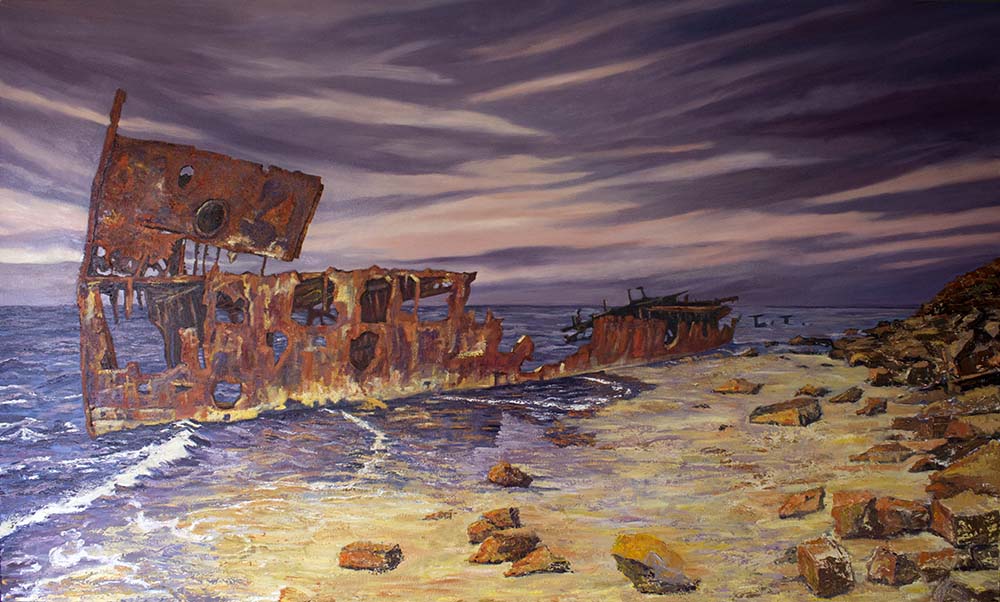 Organic Alchemy: with Alicia Tormey
19/9/2015
Click on the link above to take you to an excellent video by Alicia Tormey that looks into this artists creative process with Encaustic. It is an excellent video and well worth a look for those that want to see some of the ways in which Encaustic is applied.
30 day challenge
16/9/2015
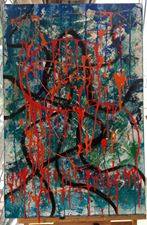
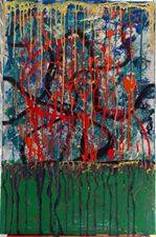
On September 2, I joined a Facebook challenge called #judyschallenge. For this challenge, there are no set rules beyond starting with a blank canvas, and using acrylic paints deciding on the time-frame (it doesn't necessarily have to be 30 days - just whatever you choose), then each day add a little then photograph and post the result. You can spend 30 seconds or half an hour each day, or whatever amount of time you choose each day. Just make sure you add some and then photograph and post the result. In this post, I will add my progress daily of my first effort and see how far I get. Note: I got as far as 7 days. This is my final painting. 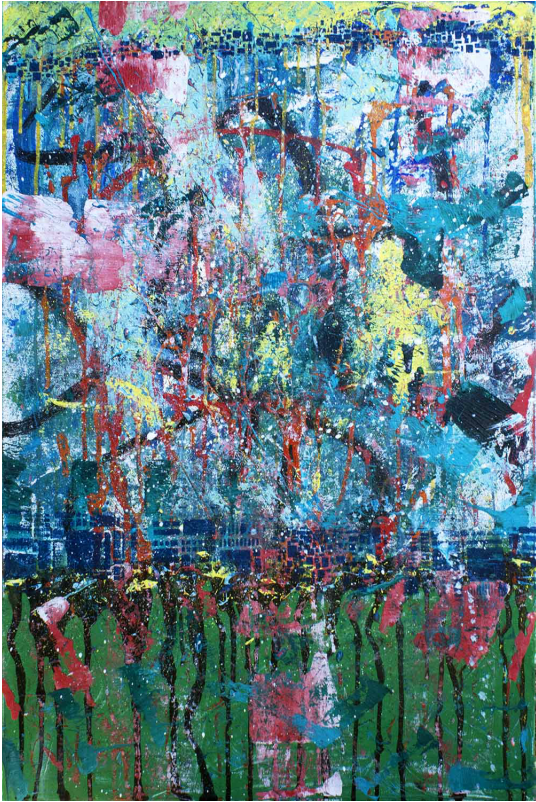 Beneath the Surface. Day 7 Final image. My final touches are just a little dark and light turquoise paint splattered across the surface. I decided to stop here - as I really like this painting as is. I am going to call this painting "Beneath the Surface" The painting is for sale at a very reasonable price. Check out my Serendipity folder in my Galleries tab.
DAILY CHALLENGE
13/9/2015
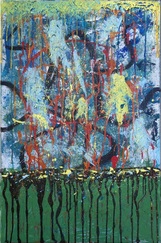
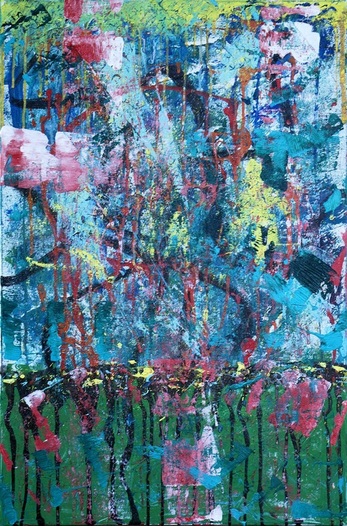
 This is my 2nd Challenge exercise, starting with a blank canvas and adding some paint every day. I am aiming for 30 days, but if I reach a point where I absolutely love the painting, I will stop there. I wonder how far I will get.
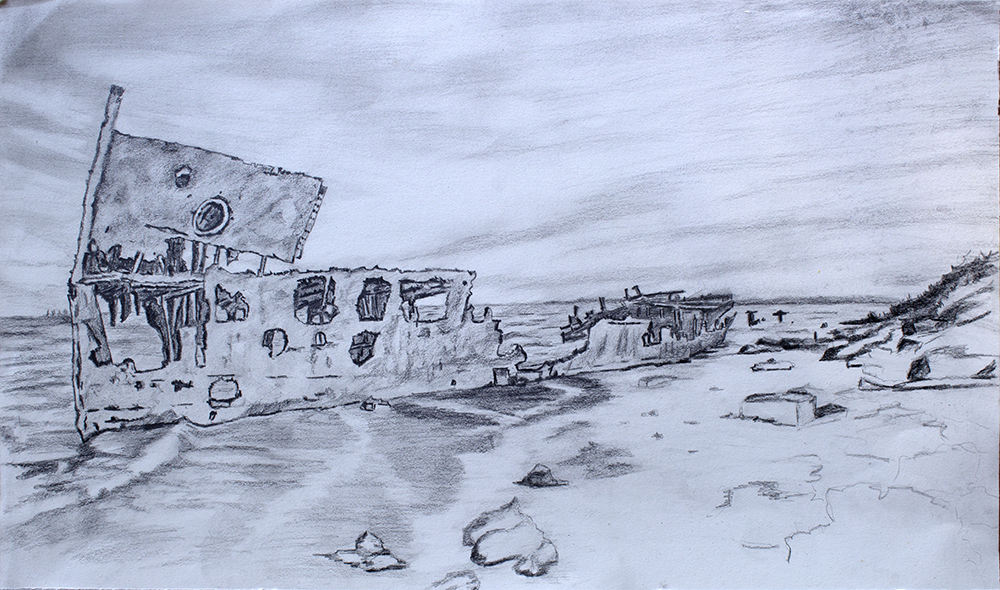
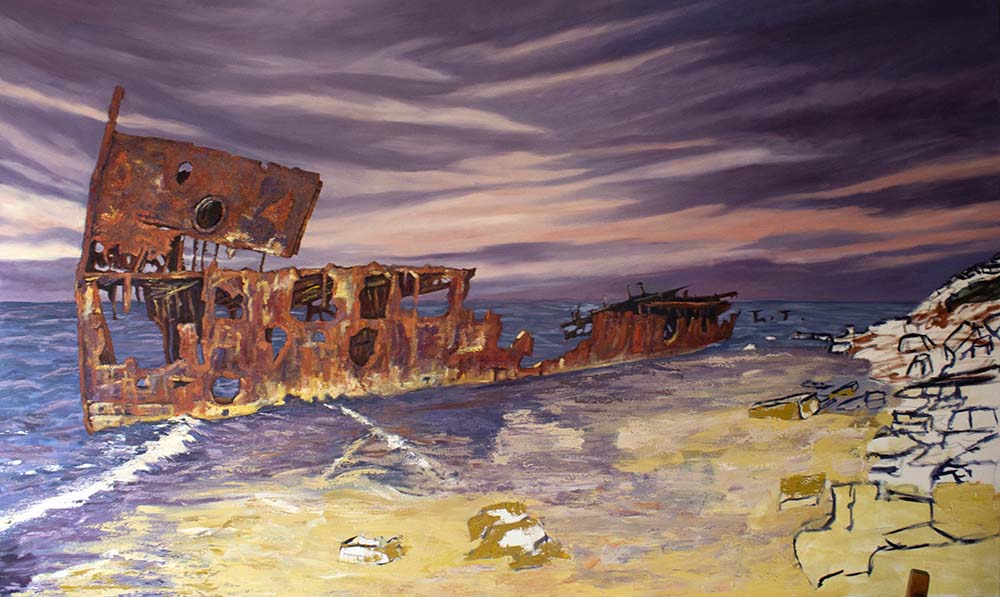
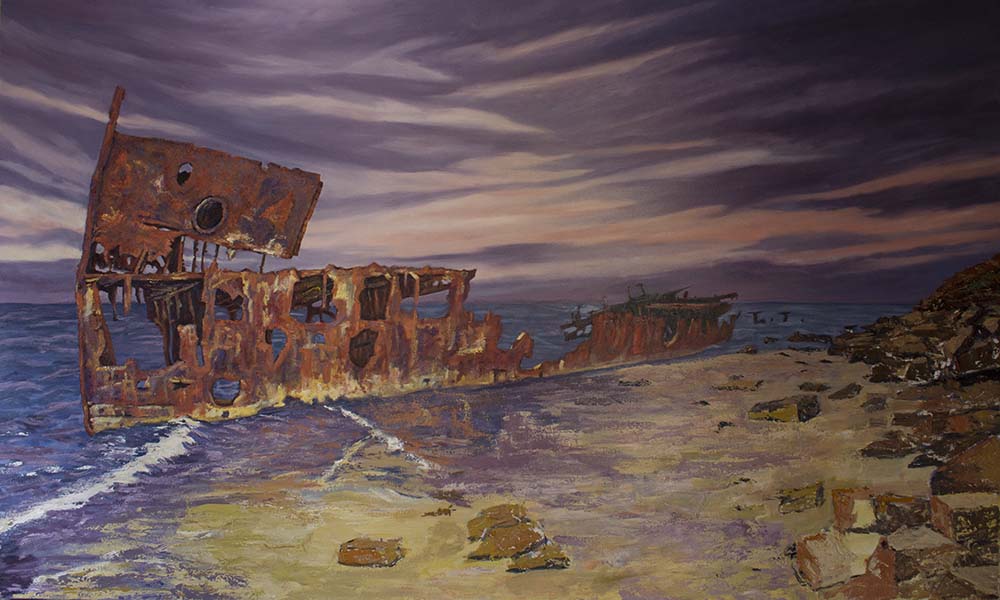
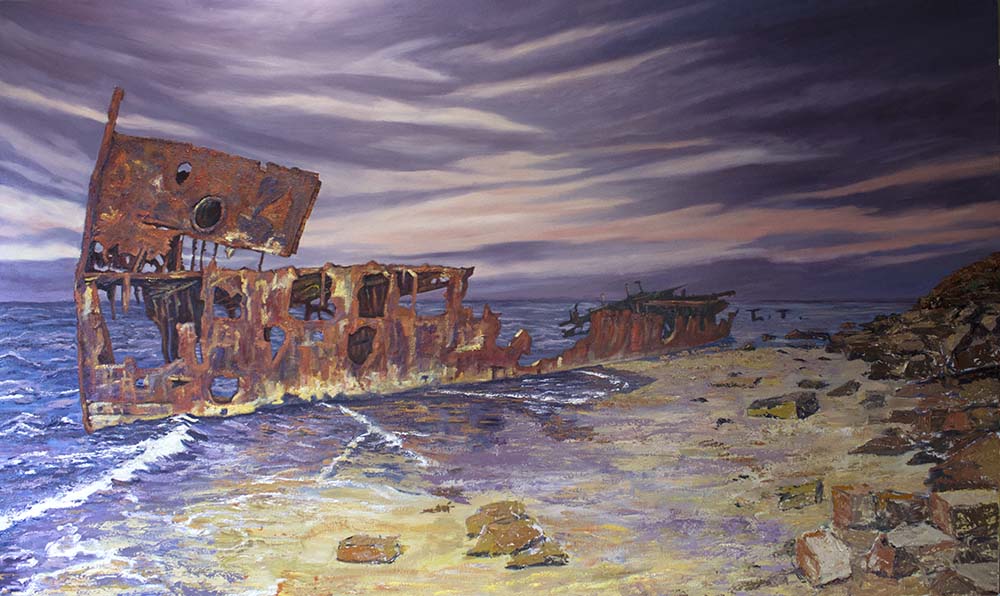
GAYUNDAH: ON THE BEACH
12/9/2015
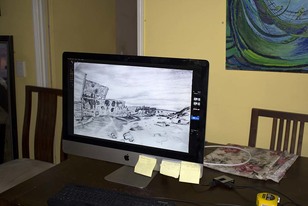
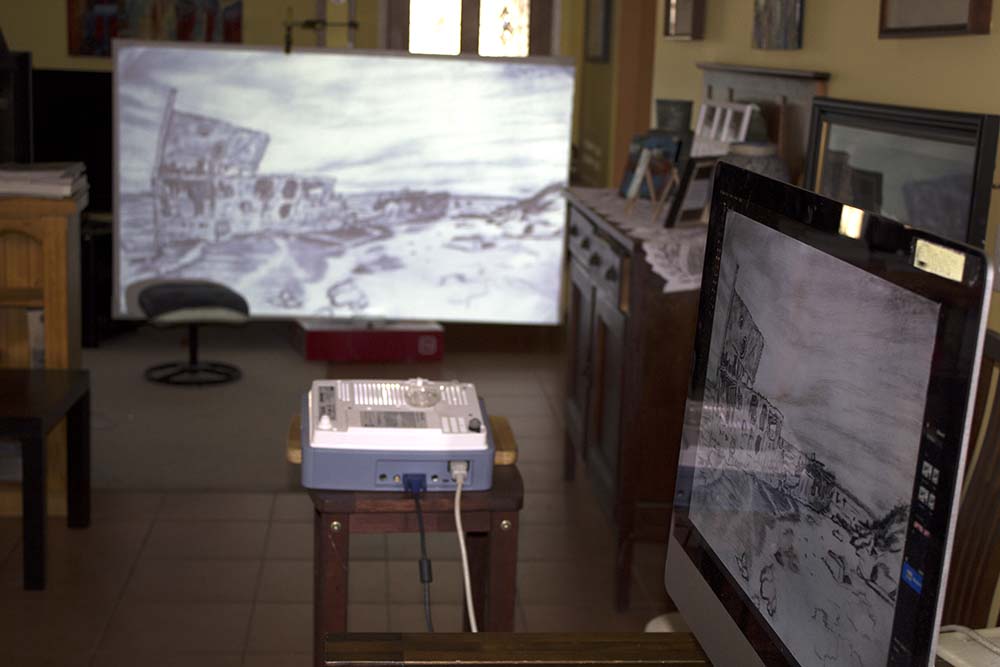
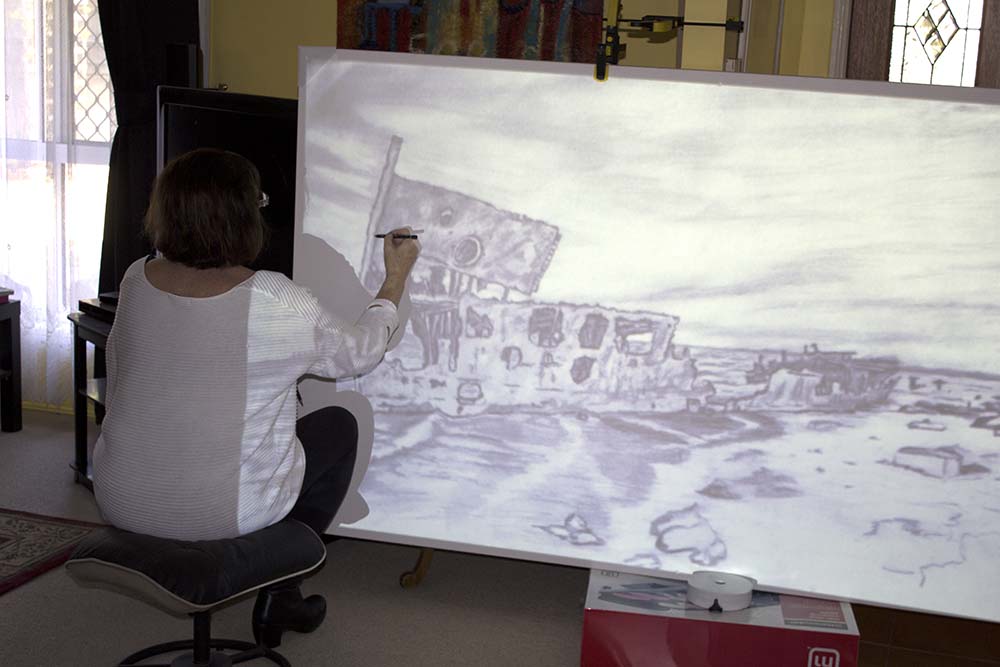
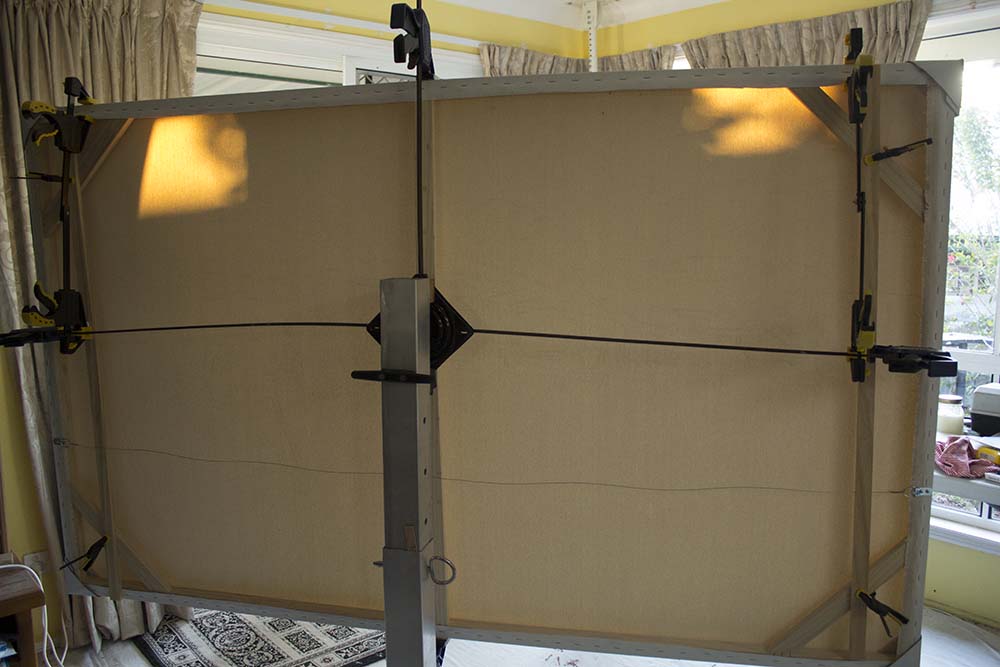
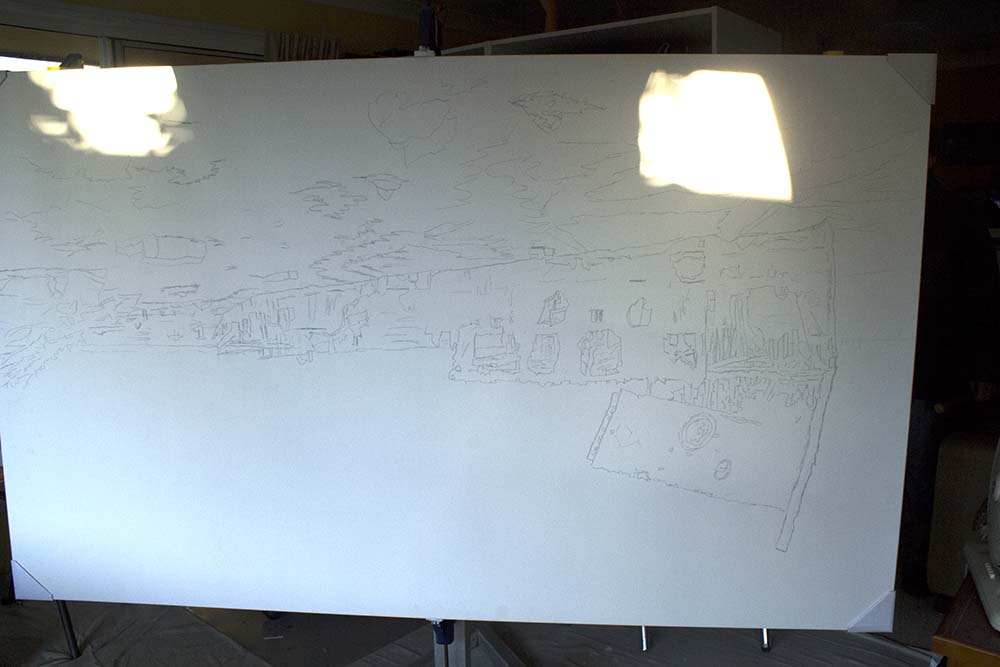
 My latest painting in "The Last Fleet" project is this huge painting of Gayundah. The canvas is 2 metres x 1.5 metres. I had the canvas made up for me by Eckersleys and initially, when I saw the size of the canvas, I panicked, thinking how am I ever going to do justice to this painting on such a large canvas. But, having purchased the canvas, I had no choice but to push on, so bit the bullet. Step 1. I made a pencil drawing. Step 2. Took a photo of my drawing and uploaded it to my computer.
Step 3. Transferring the pencil drawing to my canvas by projection.
Step 4. Securing the canvas to my easel ready to paint. My dear husband secured the canvas to my easel for me but forgot to look at the front to make sure it was the right way up, which I thought extremely funny. But we righted it, and it is now ready to paint.
Step 5. The painting begins.
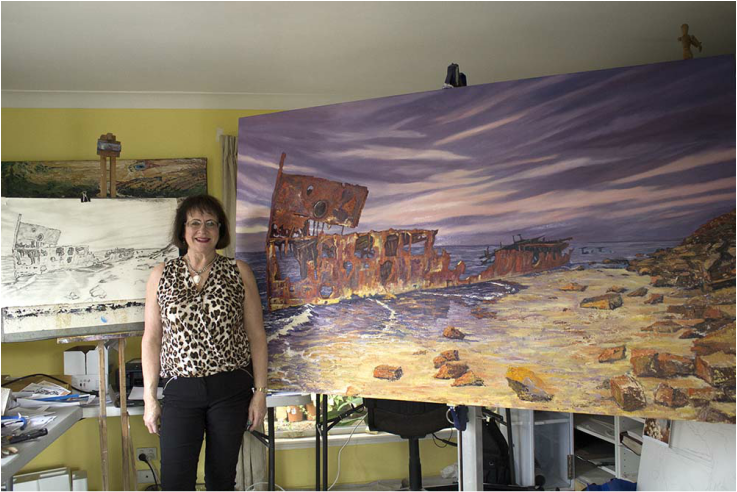 Here I am with my finished work, and the drawing on the right. All I need to do now is sign it. A smaller version of this painting can be commissioned. Contact Gayle for a quote.
|
Archives
June 2020
For as long as I can remember, I have been able to effortlessly and accurately sketch or draw an object or persons likeness. I had an innate ability to look at a person or object, and accurately gauge the size, shape and colour, and distance, memorise that information and put it down on paper. As a child and teenager, I particularly loved to draw faces to obtain a realistic likeness to that person. This love also extended to drawing animals, and a lot of my teen years was spent drawing both from magazine photographs and from life. This expanded both to drawing from life and using my own photographs as reference.
Later, when I wanted to paint a landscape, building, or portrait of a person, I would complete a charcoal or pencil work as a preliminary study to work out composition, light and shade, and get a feeling for the subject. This enabled me to see things as they really are. Most of the time, my drawings were complete artworks in themselves. Drawing dates back to pre-history and was the earliest form of non-verbal communication between humans. Drawing is a way to communicate thoughts and feelings, and enables us to see the world as it really is. As Leonardo da Vinci once said, “Painting embraces all the ten functions of the eyes, that is to say, darkness, light, body and colour, shape and location, distance and closeness, motion and rest.” Some artists live in one part of the Universe of Art and explore a theme or themes. I have been strongly attracted to the exploration of different mediums, across the whole Universe of Art.
My early years involved mostly oil and charcoal, with forays into watercolour, pastel and acrylic. With these mediums, I explored landscapes, portraits, abstracts and surreal. Recently, my life changed to allow more time for art, leading me into vigorous exploration of new areas of art. My two major new areas are encaustic art using hot beeswax and resin art using epoxy resin. At the same time, my life also changed with my marriage to a scientist with an interest in astrophotography and, with him, I have explored combining star images with charcoal drawings to convey the meaning of the Universe of Stars. Painting with hot beeswax: The ancient Greek art of encaustic painting with hot beeswax is another major realm in the Universe of Art. Moving into a new house with a new husband gave me the opportunity to explore this exciting new art realm, since this form of art needs considerable work in establishing a dedicated studio and developing new and unusual art techniques. From 2014 to 2016, I developed abstract, image transfer and realist works, the latter focussing on a shipwreck series, which culminated in a solo exhibition called “The Last Fleet” at the Gold Coast City gallery in 2016. I have also used the image transfer variation of encaustic painting to produce a series based on Australian native birds. Painting with resin: Over the last year, I entered yet another new realm of the Universe of Art: painting with epoxy resin. Like encaustic painting, this art form needs a dedicated studio, specific equipment, new techniques and a new approach to art. I am still exploring new variations of this exciting new realm of the Universe of Art but this exciting new area has already led to another solo exhibition called “New Beginnings”, at the One Arts Gallery, Isle of Capri, Gold Coast Queensland in the month of May 2017. What is resin?: Epoxy Resin used in art is an adhesive, plastic material made from synthetic polymers and mixed with a hardener in a specific ratio which varies for different brands. Coloured pigments are added, and the mixture is generally poured onto a surface, mostly MDF, but sometimes other surfaces. When cured, it becomes a very tough and hard surface. When resin, hardener and coloured pigments are mixed, it is in a fluid form and extremely sticky – a bit like honey. An artist has to work very quickly to achieve their art with resin as it starts to cure after about 40 minutes – although it is possible to work a little longer before it becomes more like toffee. Then it must be left undisturbed until at least the next day before progressing further with it. Frequently I work with multiple layers to achieve incredible depth, so depending upon how many layers I use, a good artwork can take several days to develop. The affects achieved with resin depend upon various ways that it is applied to the surface, and each artist develops their own techniques for manipulating the fluid medium to get the effects they want. There is much more involved than just “throwing coloured resin onto a surface”. An artist needs to develop a lot of skill to develop a unique and beautiful work. Applying heat either with a torch or heat gun is an important step for proper curing of the resin and hardener mix. Proper mixing and exact volumes of resin and hardener are required for adequate curing. Whilst it becomes quite solid to touch within 5 to 7 hours, it requires up to 48 hours for a complete cure. Epoxy Resin requires a moderate level of safety precautions to avoid contact with the skin and eyes as well as avoiding the accumulation of vapours in the room. I wear protective clothing, nitrate gloves, and work in a room with cross-flow ventilation and when using solvents, a carbon mask. |


 RSS Feed